Japanese Pantry: What Is Okara?
Recipe: Okara Crumble Blueberry Muffins

Ever stood in a Japanese supermarket aisle for what feels like forever, staring at a strange-looking vegetable or illegible packet of mystery goo? Today's mystery is okara, let's have a look at this surprisingly versatile Japanese ingredient.
So, what is okara?
Okara or soy pulp is much more than it sounds. The leftover “stuff” from producing soy products, it’s either sold for very cheap (anywhere from just ¥60 – ¥150 a bag), given away for free (even by supermarkets), or simply thrown out. But believe it or not, okara is what brought me to Japan.
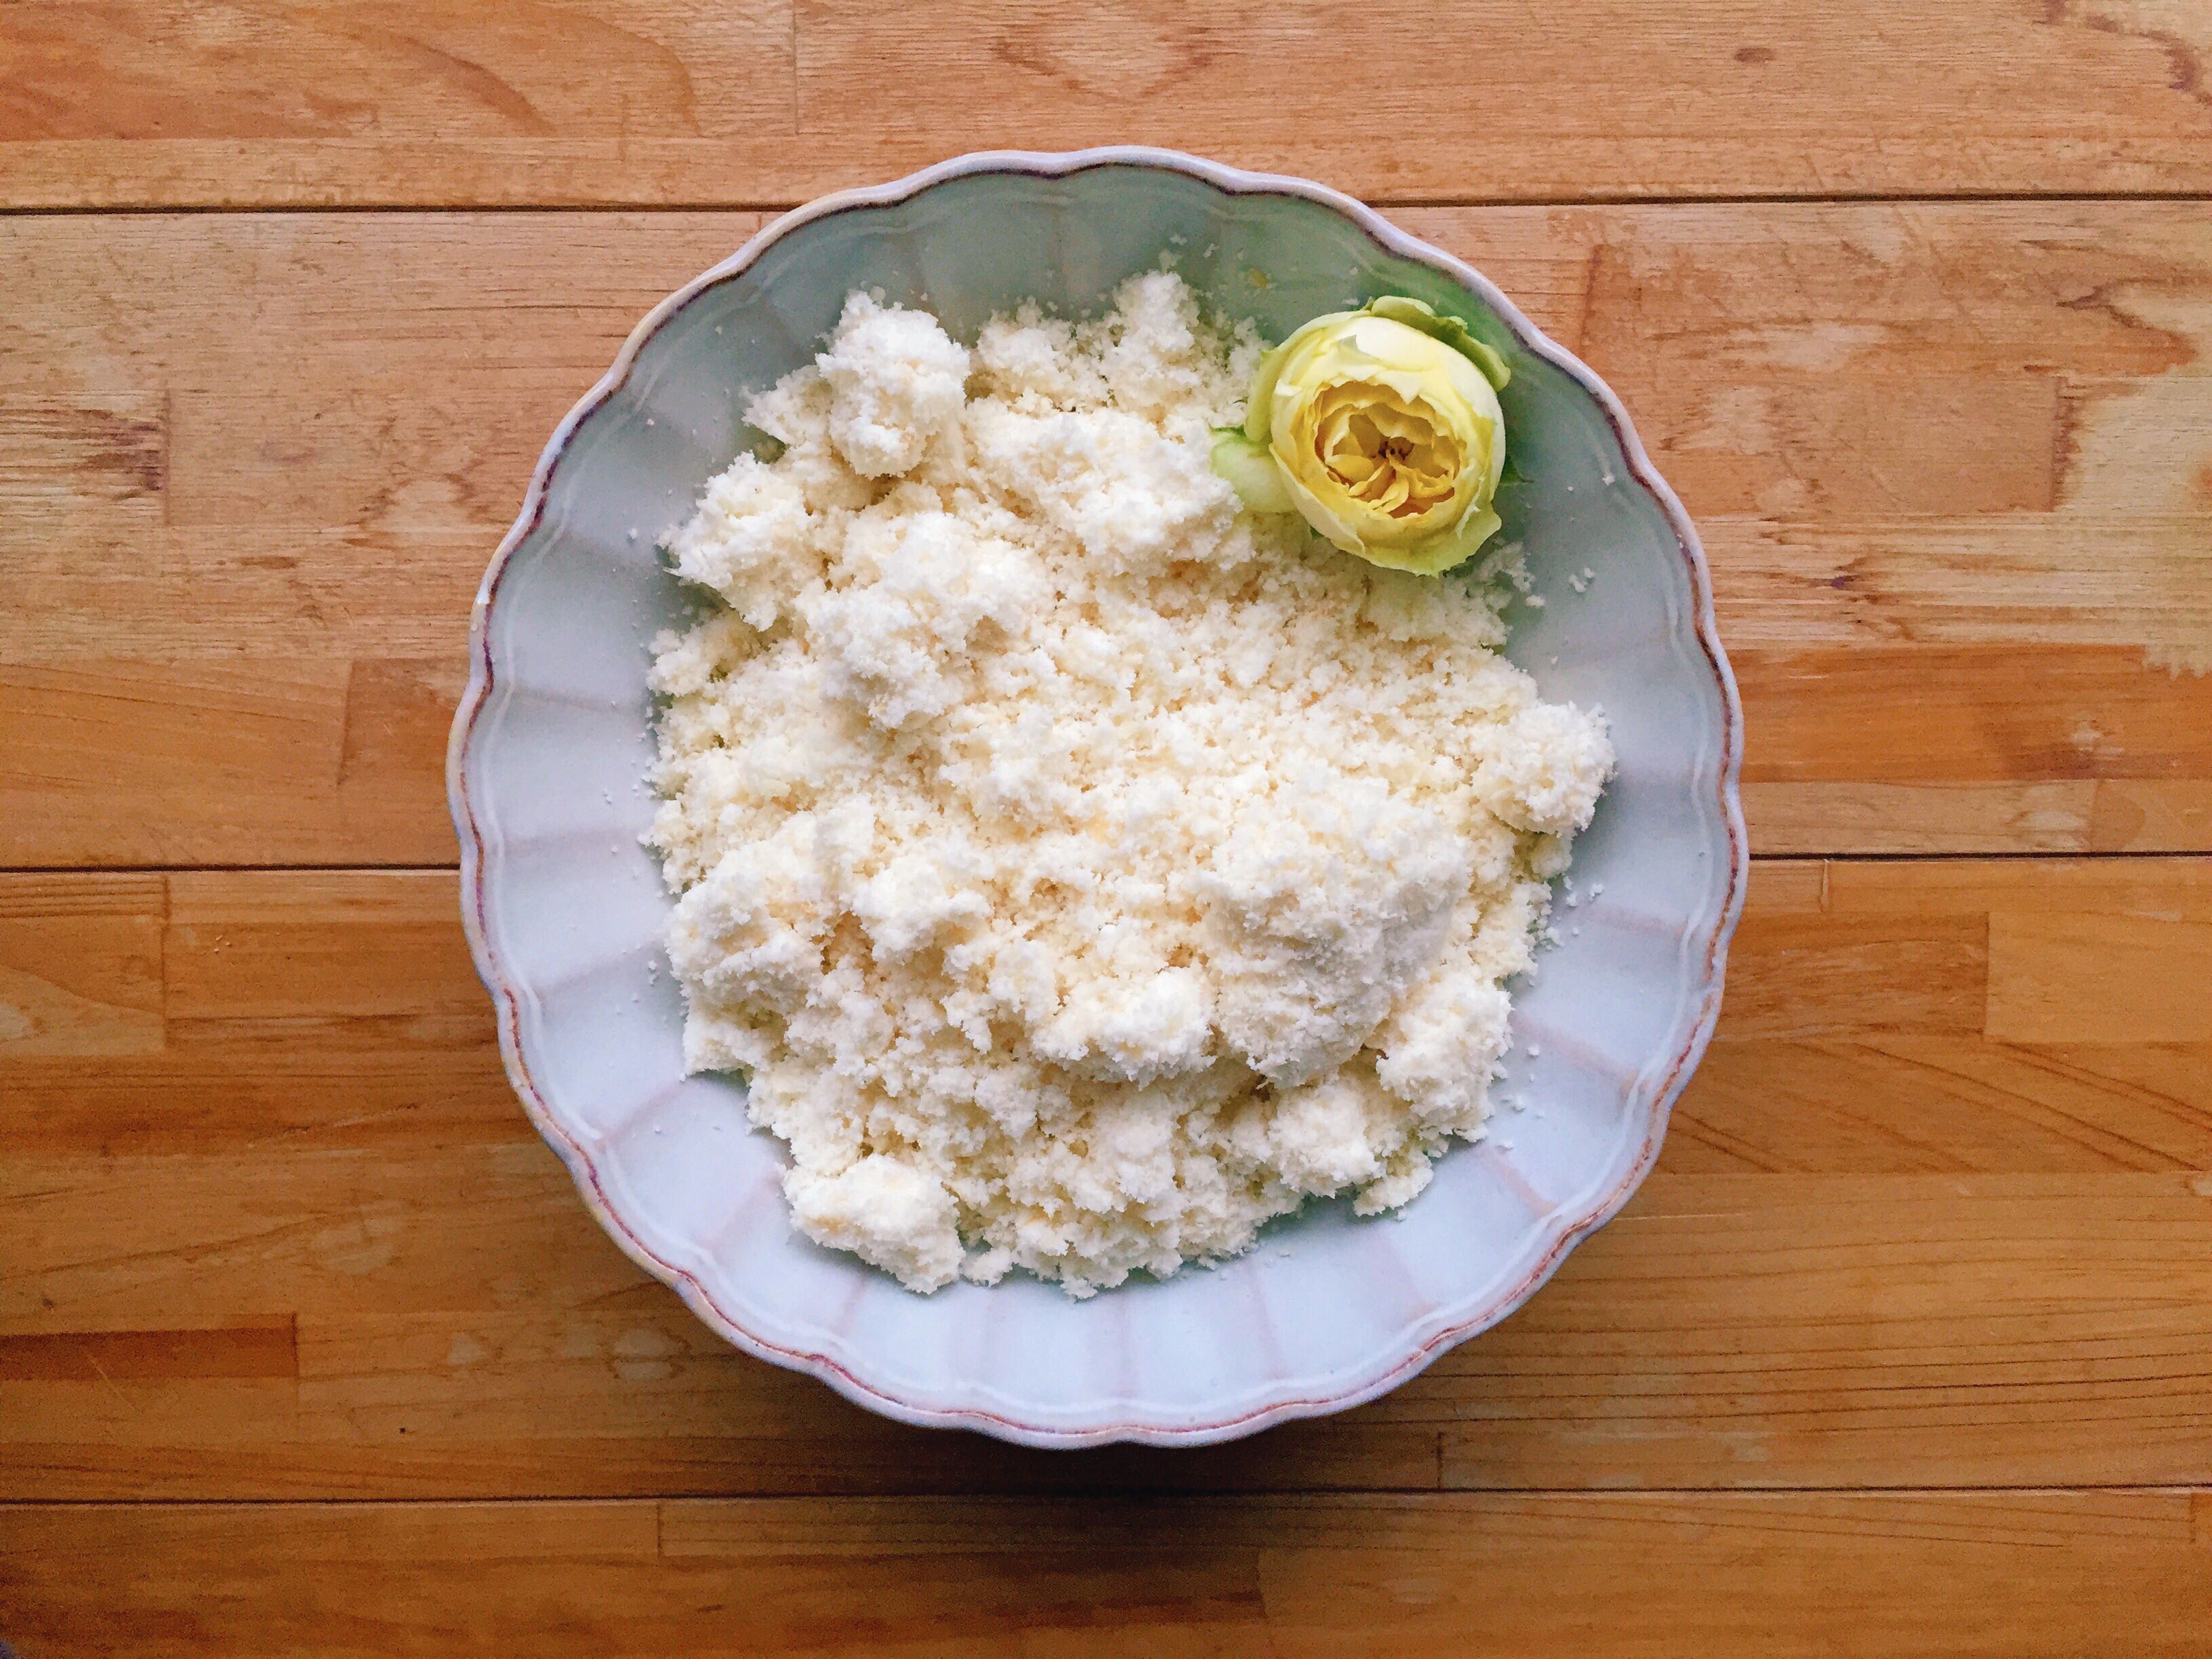
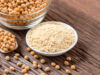
Okara is the leftover pulp from soybeans after they are filtered to make soy milk and tofu.
This miracle food that’s low in fat and high in calcium, protein and dietary fiber is sold at almost all Japanese supermarkets in the tofu aisle. It is usually white or yellowish in color though you can also find greyish okara, a by-product of black soybean tofu.
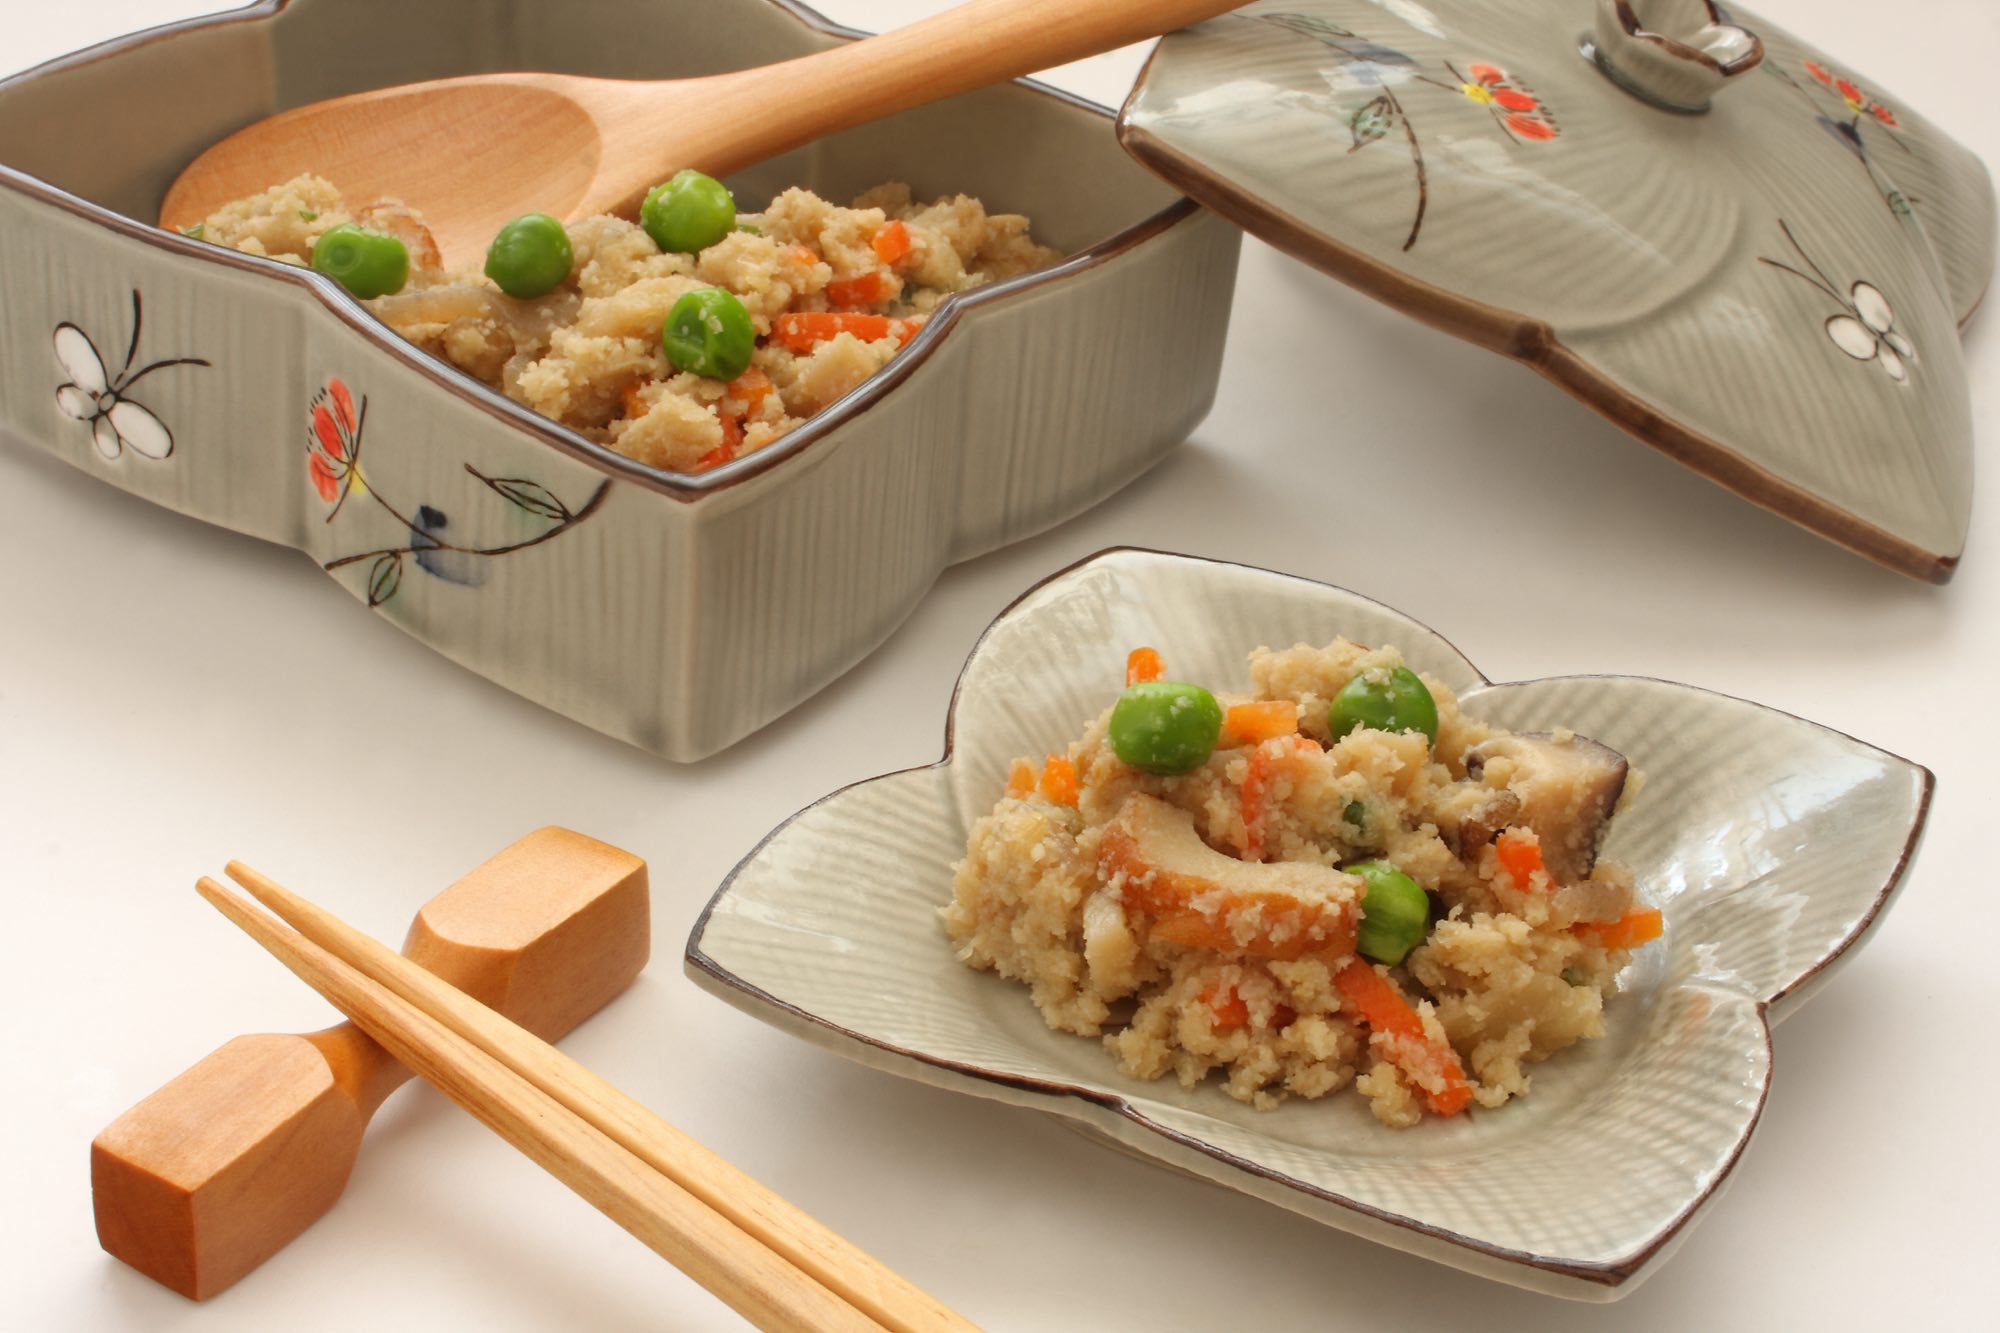
Unlike its siblings, soymilk, and tofu, this Japanese ingredient isn’t consumed on its own. In Japanese cuisine, it is commonly used to prepare unohana 卯の花, a popular and traditional savory side dish made by combining okara, vegetables such as carrots, burdock, negi (leek or green onion), shiitake mushrooms, shoyu (soy sauce), mirin (Japanese rice wine) and sometimes konnyaku (elephant yam). Like okara, ready-made unohana is also available at most Japanese stores; generally found in the takeout food isles.
What can you make with okara?
In addition to savory dishes like unohana, you can use okara as a versatile nutritious, and diet-friendly addition to baked goods. In gluten-free recipes, okara can entirely replace flour, giving baked goods a wonderfully moist feel. And in vegan baking, it is a convenient egg substitute. Even in a recipe containing gluten, egg, and/or dairy, simply adding 1/4-1/2 cup of okara to your cake or muffin batter is an easy way to up your good-health brownie points.
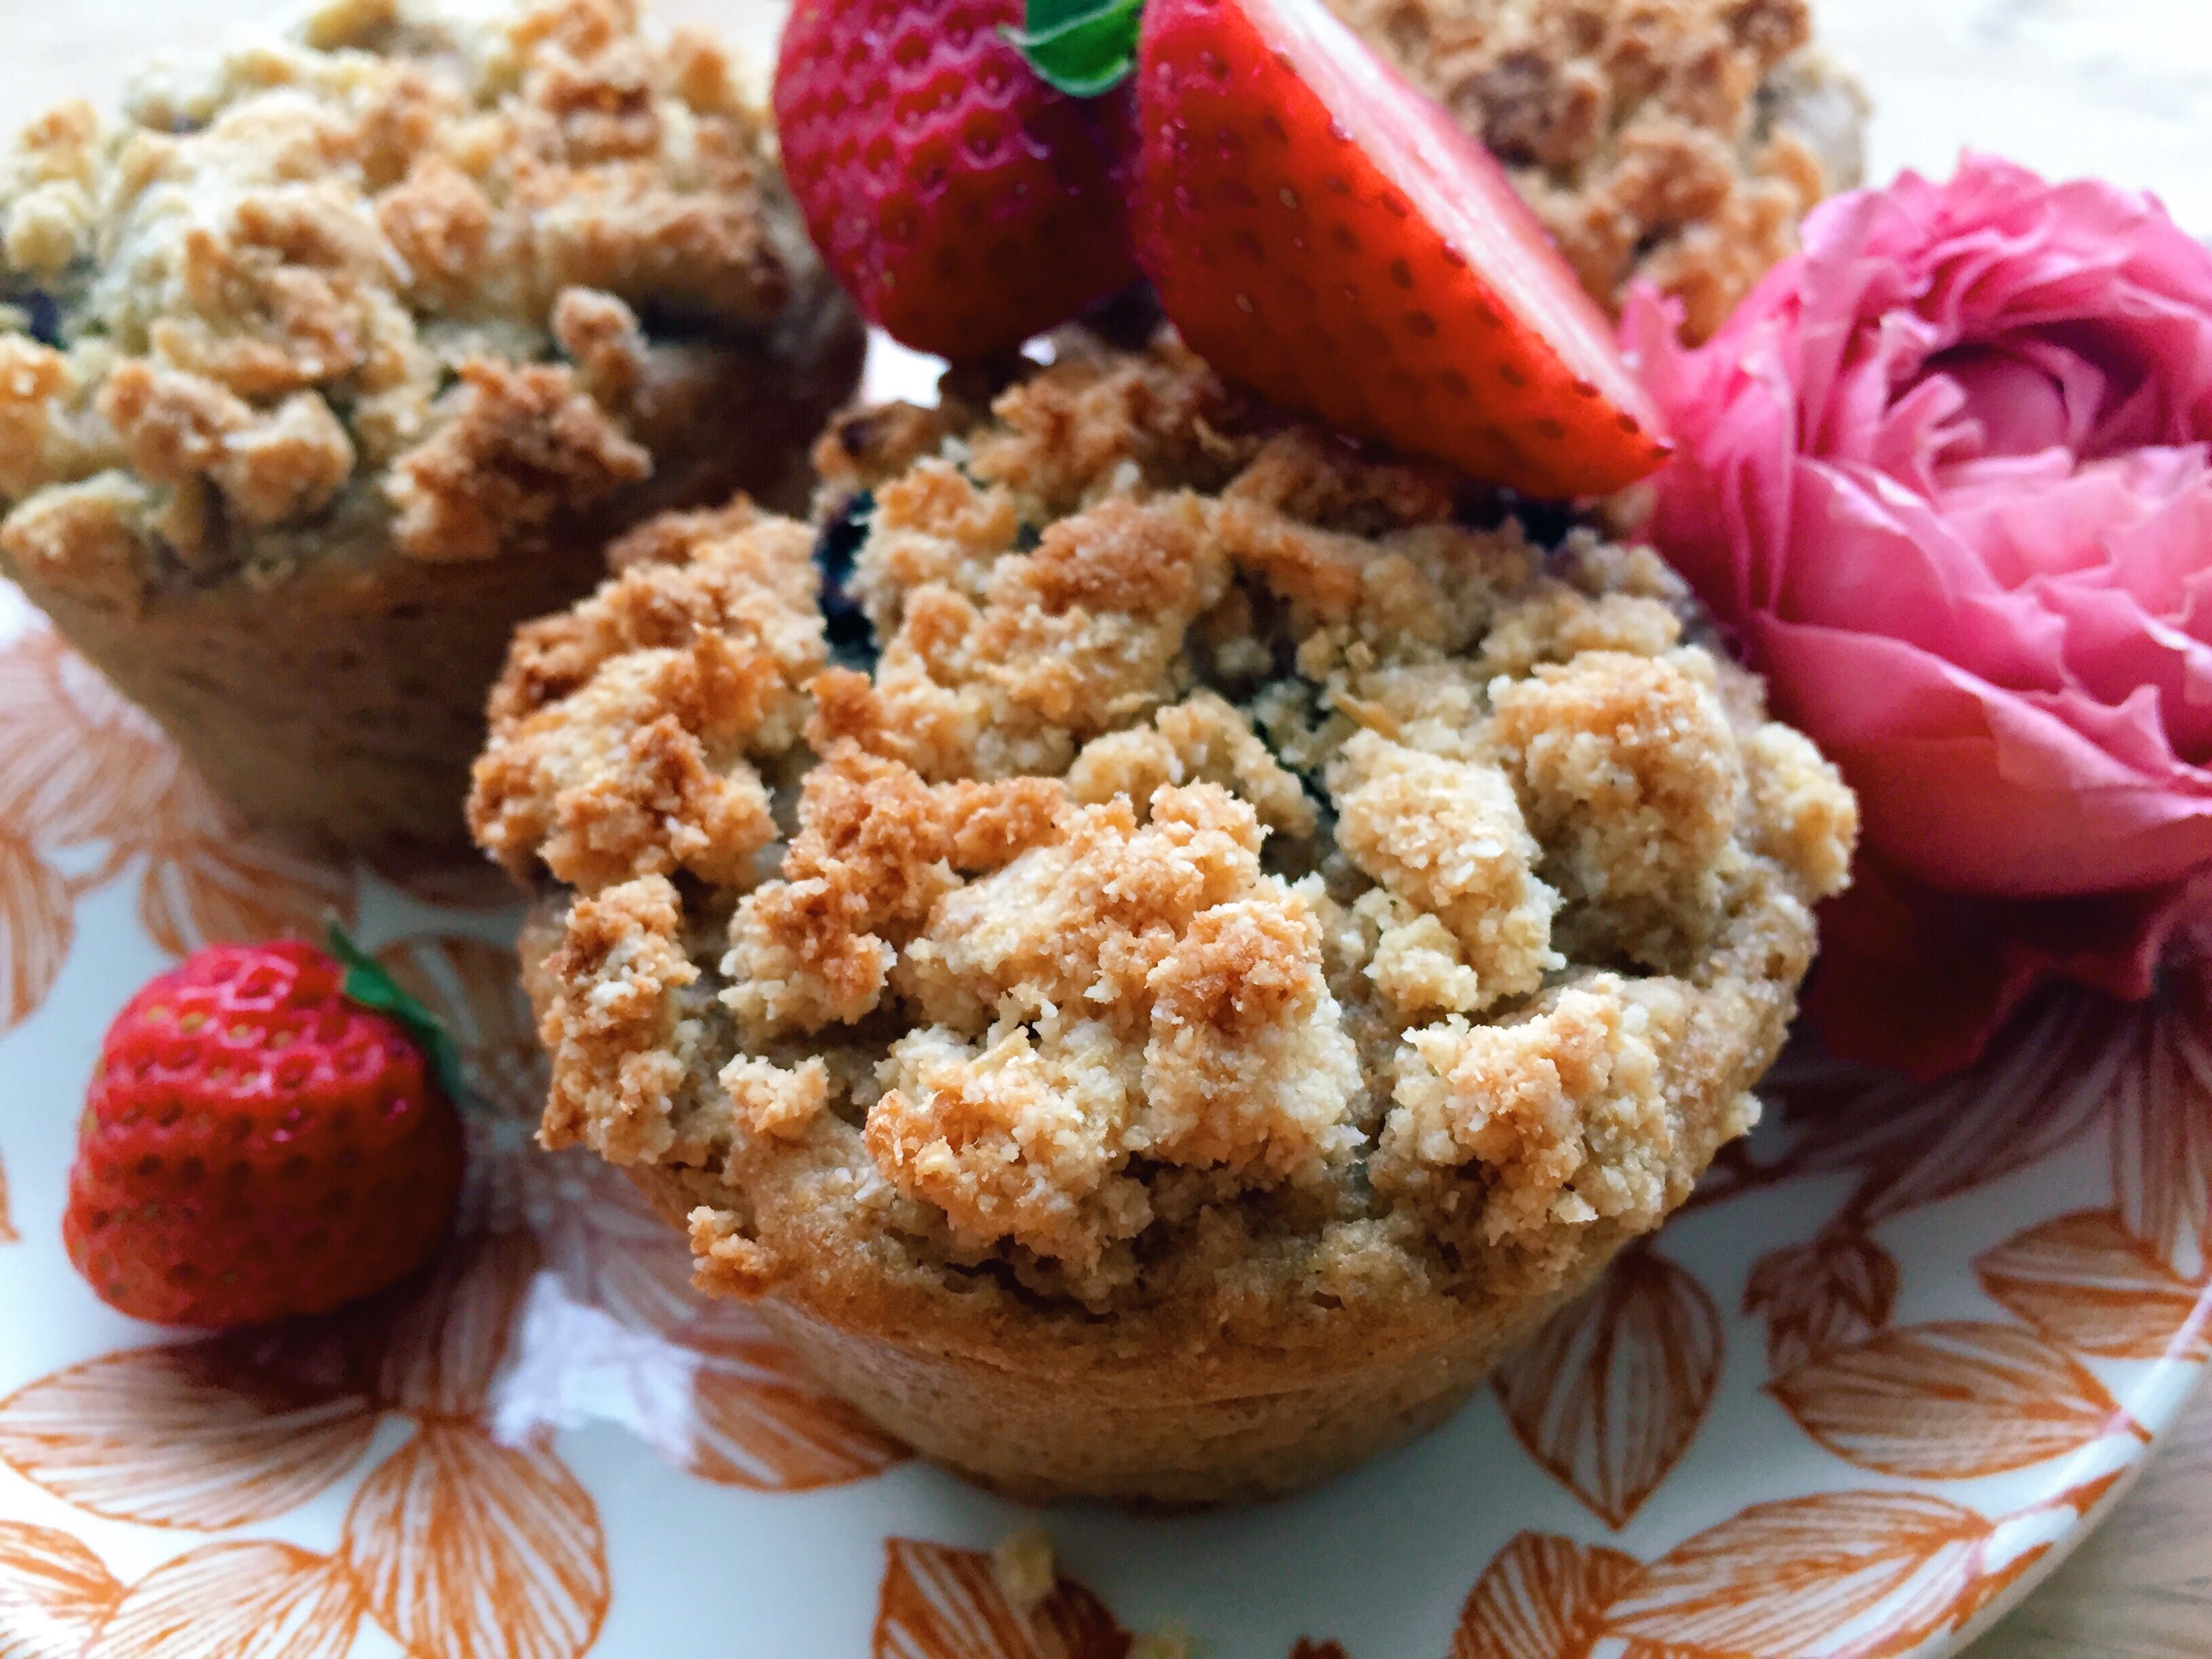
My personal favorite way to use okara is to make okara crumble. It is unbelievably easy, so wonderful and so good for you!
I have chosen to flavor this okara recipe with blueberry seeing as blueberries are one of Japan’s most nutritious summer fruits. This is because the anthocyanin pigments found in these tiny blues are actually quite powerful, helping boost skin elasticity and protecting against UV damage too.
In addition, blueberries boast a high count of both Vitamins C and E which you already know are good for you. In saying that, if you’re not a blues fan, you can always substitute another berry or fruit. Fresh summer raspberries or generally dried fruit are a good choice.
Happy, healthy scoffing!
Okara Crumble Blueberry Muffins
Makes 4 muffins (vegan and refined sugar-free)
Ingredients
Muffins
- 150 g whole-wheat flour (easily found at most Japanese supermarkets)
- 2 tbsp almond powder
- 2 tsp baking powder
- A pinch of sea salt
- A pinch of cinnamon
- 150 g soft tofu
- 3 tbsp pure maple syrup
- 2 tbsp olive oil
- A handful of fresh or thawed blueberries
Okara crumble
- 3 tbsp okara
- 2 tbsp pure maple syrup
- 3 tbsp almond powder
- 2 tbsp whole-wheat flour
- 1 tbsp olive oil
Instructions
- Preheat oven to 180°C (I baked mine in a miniature toaster-oven).
- Place all muffin ingredients (except blueberries) in a blender or food processor and blend until combined. Do not over mix. The batter should become like fluff.
- Spoon the batter evenly into a greased silicon muffin-tray.
- Gently push down 4-5 blueberries atop each muffin.
- Place all crumble ingredients in a small bowl and combine using a fork. When ingredients take on a crumble-like texture, sprinkle each muffin evenly with the crumbly goodness.
- Bake for 25-30 minutes or until an inserted toothpick comes out clean.
- To further brown the crumble, raise the oven temperature in the last minute or two but watch like a hawk as you don’t want it to burn.
- Let cool before removing from the tray.
This article was originally published in 2016 and edited on Sep. 7, 2020.
Comments
Leave a Reply


Other Articles by Anisa


Related Articles You Might Like

Unique Ways To Celebrate Strawberry Season in Tokyo 2024
From unconventional afternoon teas and savory strawberry-infused dishes to indulgent dessert pizzas and beauty products infused with strawberry essence, Tokyoites and visitors alike can immerse...
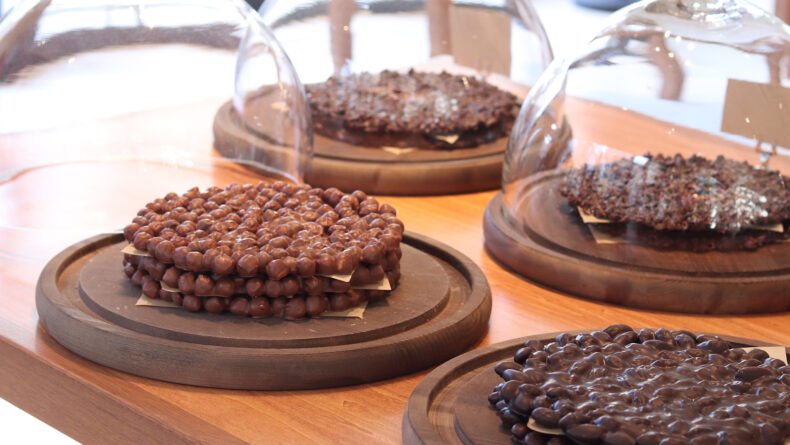
Tokyo Chocolate Shops: 7 Best For Valentine’s and Beyond
Give the gift of chocolate this Valentine’s Day with a local twist!

Tokyo’s Best Fruit Picking Spots
Looking for a unique adventure for the whole family this weekend? We’ve got you covered. After all, what’s more wholesome and fun than a fruit...
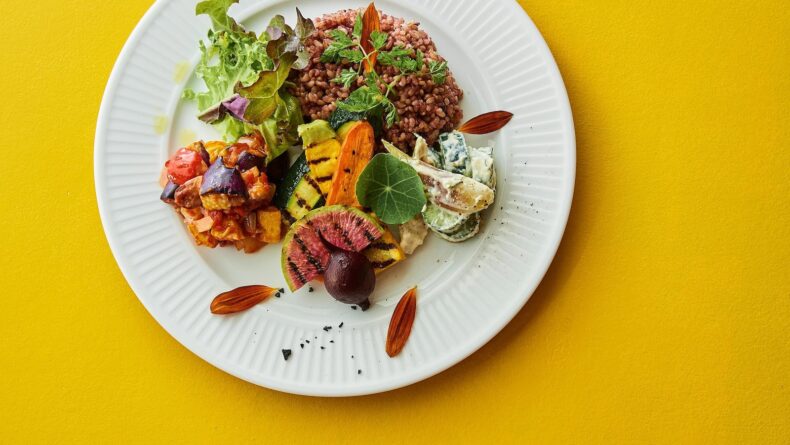
5 Healthy Restaurants in Azabudai Hills
Whether you've set a resolution to eat healthier this year or are looking for a balanced meal before visiting the new TeamLab Borderless museum, here...