Here’s How To Make Your Own Ehomaki This Setsubun
Try Your Own Roll This Year For Good Luck
All you have to do is roll!
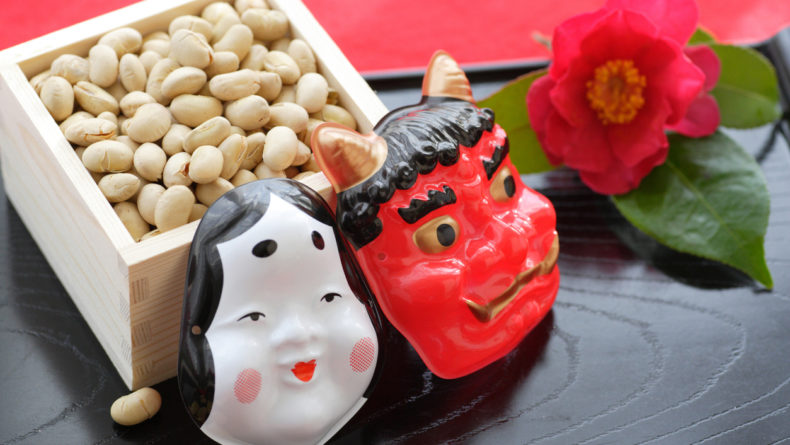
Setsubun no Hi (節分の日) is a fun Japanese festival typically celebrated on February 2nd, 3rd or 4th before the “official” beginning of spring. I remember being curious to understand the rituals of this festival when I saw huge sushi rolls, or ehomaki (恵方巻き), sold at supermarkets days before Setsubun and my Japanese neighbors throwing roasted beans outside their houses. My neighbor kindly explained to me that mamemaki (bean throwing) is a ritual that Japanese people, especially those with kids, do every year during this holiday. What excited me more, however, were the ehomaki rolls.
Why Eat Ehomaki?
 © Photo by iStock: hanapon1002
With Setsubun marking the transition between seasons, rituals to ward off evil spirits and bring good luck are performed on this day. One of these is eating ehomaki in the evening. This practice is thought to have originated in the Edo period (1603–1868) or possibly earlier in the Kansai region (around Osaka). Eating ehomaki during Setsubun isn’t as simple as it seems, though. For good luck to come, it is believed that you must follow various rules while eating it. Some of these may depend on the region but here are the most common ones.
The Rules of Ehomaki
- Use seven ingredients: Using seven ingredients symbolizes the 七福神 (Shichifukujin; “Seven Lucky Gods”) who bring prosperity and good fortune.
- Eat in silence: Speaking while eating ehomaki disrupts the flow of luck and blessings, so eat in complete silence until the entire roll is consumed.
- Do not cut the roll: The roll must be eaten whole to symbolize an unbroken and continuous fortune.
- Face the “lucky direction”: Each year, there is a designated lucky direction or 恵方 (ehō), which is determined by the zodiac sign of that year. For 2025, the direction is 西南西 (sei-nansei; “west-southwest”). So, make sure to eat facing somewhere between west and southwest.
- Eat in one sitting: Try your best to eat the whole roll in one go without stopping, as pausing may interrupt the arrival of blessings.
- Use both hands and smile: Hold the ehomaki with both hands and spread a big smile across your face before you eat to ensure a steady flow of good luck while you fight any evils with happiness.
- Make a wish: While eating your ehomaki try focusing on a wish or prayer; this can be for health, happiness or success in the coming year etc.
Don’t feel too pressured to follow all the rules to the tea. If you don’t think you can eat it in one go, it’s better to take a break than to choke!
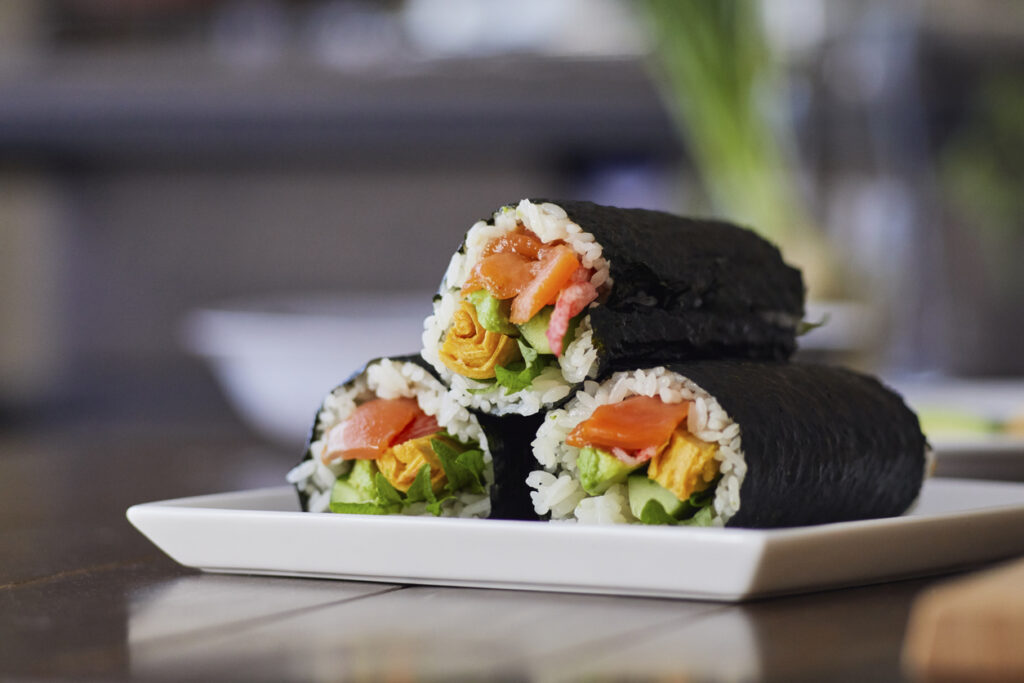
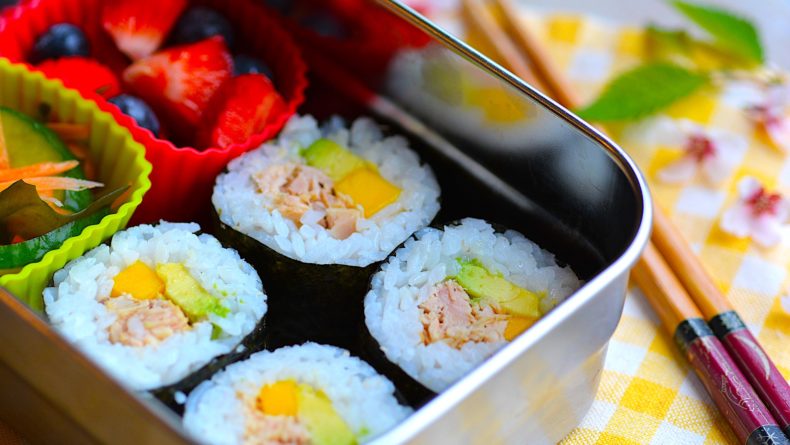
While you can buy ehomaki at almost every supermarket and sushi shop around Setsubun, you can also try making your own at home. The best thing is that you get to decide what goes inside—there are no rules when it comes to that!
Here’s my ehomaki recipe:
Ehomaki Recipe For Setsubun
 © Photo by iStock: Yuki KONDO
Ingredients
*(Makes 2 long rolls)
- Sushi rice (80g per roll) *(See how to make your sushi rice below)
- Nori (roasted seaweed sheets)
- 100g cooked prawns
- 100g smoked salmon
- Ripened avocado, peeled and cut into thin strips (coat in fresh lemon juice to avoid browning)
- Ripened mango, peeled and cut into thin strips (You can replace with tamagoyaki, Japanese omelet, strips)
- Cucumber, remove seeds and cut into thin strips
- Pickled ginger
- Lettuce leaves
- Water bowl, damp clean cloth and sushi mat
Instructions
- Place the seaweed sheet (nori) shiny-side down with the lines in the nori running vertically on a sushi mat.
- Dip your fingertips in the water bowl and shake off any excess water.
- Take a large spoonful of rice and, using your fingertips, gently spread it over the nori sheet, trying not to press on the rice too hard.
- Spread the rice to the edges of the nori and leave a gap at the top of the seaweed.
- Place the seven ingredients in a straight line on the nori sheet. Hold the nearest end of the mat with your index fingers and thumbs. Use the rest of your fingers to hold the ingredients in place. Roll the mat forward to bring the nori and rice wrap around the fillings. Press down firmly but gently to create a roll shape.
- To finish the complete roll, pull the end of the mat with one hand and continue to push the roll forward with the other hand.
Sushi Rice Recipe
1. Wash and cook white rice using an electric rice cooker or a pot
2. Prepare a homemade sushi rice seasoning (awase-zu)
- Pour 100ml of rice vinegar (米酢, komezu) and 2 tablespoons of sugar into a non-aluminum saucepan
- Heat until the sugar is dissolved and then add half a teaspoon of salt
- Set aside and allow to cool
3. Mix the sushi rice seasoning with the cooked rice
- Transfer the hot cooked rice to a shallow non-metallic baking tray (with a wide flat base) using a rice spatula or wooden spoon.
- Sprinkle 100ml of the sushi rice seasoning evenly over the rice. Then gently turn and fold the rice with the spatula (try not to break or mash the rice grains).
- At the same time, fan the rice with a piece of cardboard or uchiwa (paper fan) to help cool the rice to room temperature and absorb the excess sushi rice seasoning.
- Try to use the rice as soon as possible. Avoid putting it in the fridge, as this will harden the rice. If necessary, cover the rice with a damp tea towel for a few hours.
*Note that you will have to use Japanese short-grain rice to make sushi. You can use bottled sushi vinegar instead of making your own. I prefer to make my own as I can control the amount of sugar and salt that I add to the vinegar. Sushi is best served at room temperature.
I hope you enjoy your homemade ehomaki, whatever you decide to fill it with. Happy Setsubun!
Using this recipe? Share your photos with us via Facebook or Instagram with the hashtag #savvytokyorecipe


Leave a Reply