Learning Japanese Calligraphy
Trying A Traditional Art At Home

Up your kanji game with Japanese calligraphy practice.
Many Japanese learners have a love/hate relationship with kanji. There are too many readings, they look too similar to other characters or are just really hard to write neatly—especially on government forms. One way to improve your kanji writing, as well as learn a new skill or perhaps even find a surprising hidden talent of your own, is to try shodo (Japanese calligraphy).
What is shodo?
Shodo, or “the way of writing,” quite literally means calligraphy in Japanese. Originally brought to Japan from China between the 1st and 5th centuries, it developed over the years into a unique system of writing that includes the hiragana and katakana of today. There’s even a Japanese Calligraphy Association where members can take part in and share the joys of one of Japan’s oldest art forms.
In terms of modern calligraphy, there are three main styles of writing. The easiest is called kaisho, or block style lettering. Next is gyosho, or semi-cursive and, finally, sosho, or the cursive style. Sosho is the most difficult to master, taking casual calligraphers years, sometimes decades to fully master.
For those interested in a more in-depth history of this writing system, I strongly encourage you to check out the entry on it at Beyond Calligraphy. If you have six minutes to spare, this video from the University of Houston System Coursera course explains a bit of the history and development of different Japanese scripts up to the Edo era.
The tools you need
As shodo is a traditional art form, it has this image of being an incredibly difficult or expensive hobby to have — and it is, if you’ve been at it for several years and have advanced to a high level of skill.
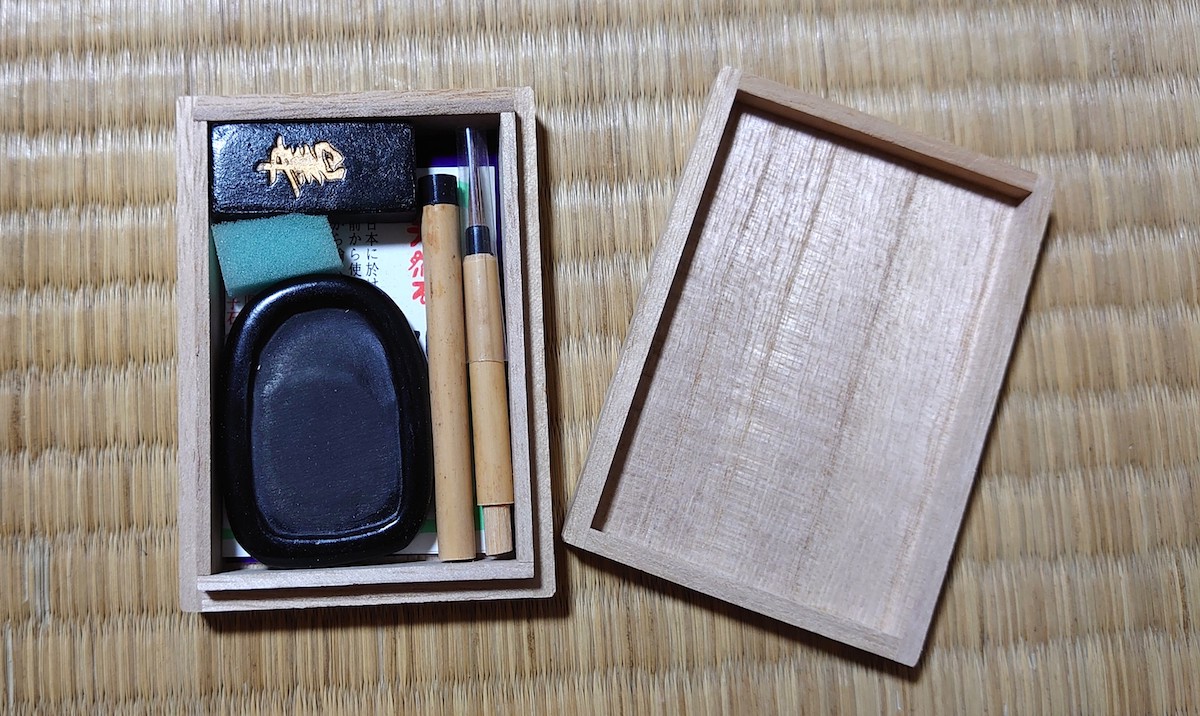
You can find mini calligraphy sets like these in traditional shops in the Asakusa and Ueno areas.
The four most basic tools are bunbo shihom, also known as the Four Treasures of the Study, are: fude (brush), washi (Japanese-style paper), sumi (ink) and suzuri (ink stone).
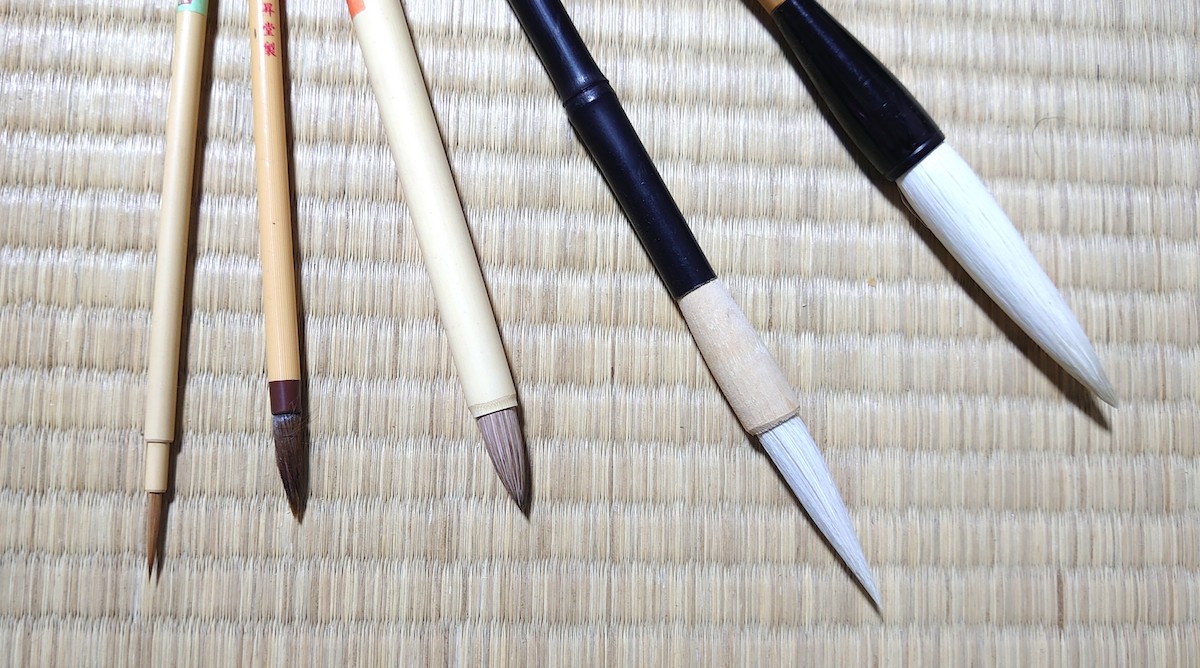
Brushes come in various sizes and in prices ranging from ¥100 to tens of thousands of yen. Cheaper brushes have plastic handles and bristles made from synthetic materials, while others can be wood, bamboo or horn based, with bristles made from goat, sheep, horse, boar or deer hair. When getting started with calligraphy, most people prefer to start with a medium or large brush, for ease of use and in order to get the finer details of the characters written correctly.
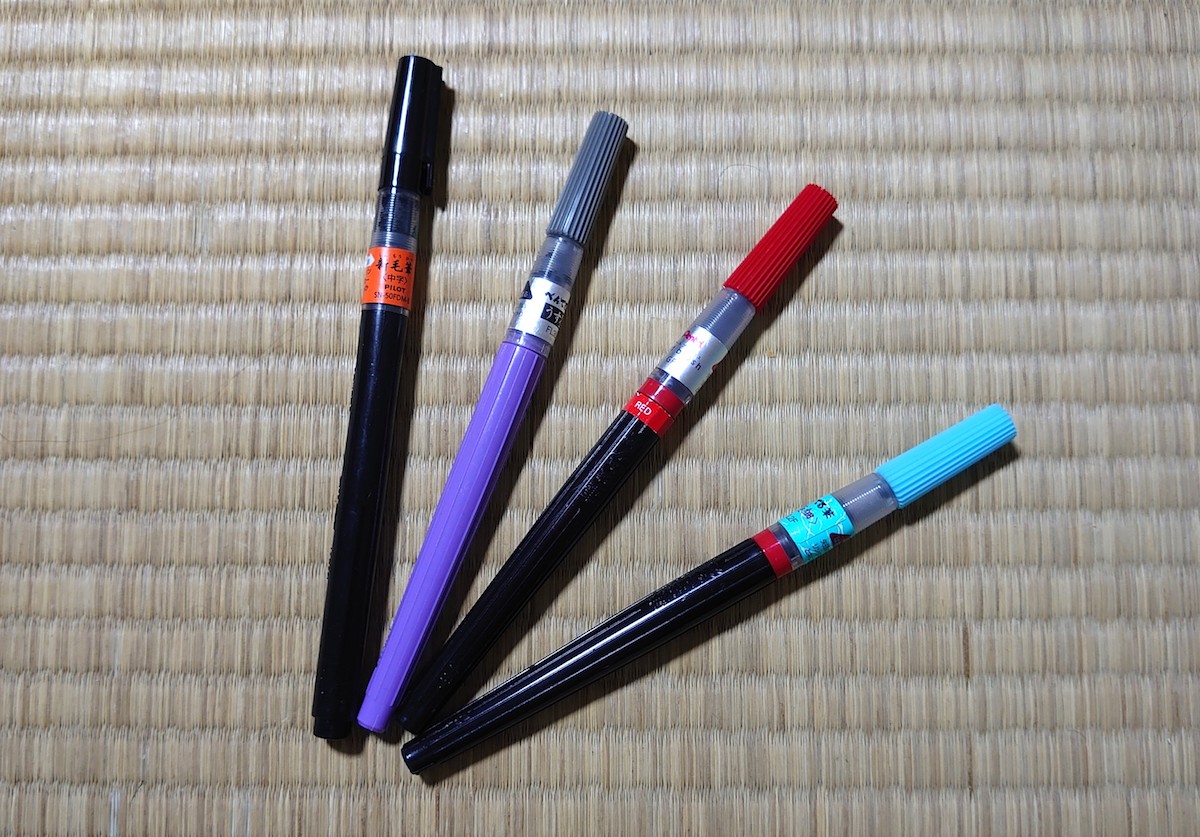
If you’d rather begin using something less daunting than a full brush, a fudepen (brush pen) is your best option. It’s a brush with ink inside the handle that you have to “pop” open and squeeze in order to get flowing. The inks are usually available in black, light grey and red, but you can also find water color fudepens in a rainbow of shades.
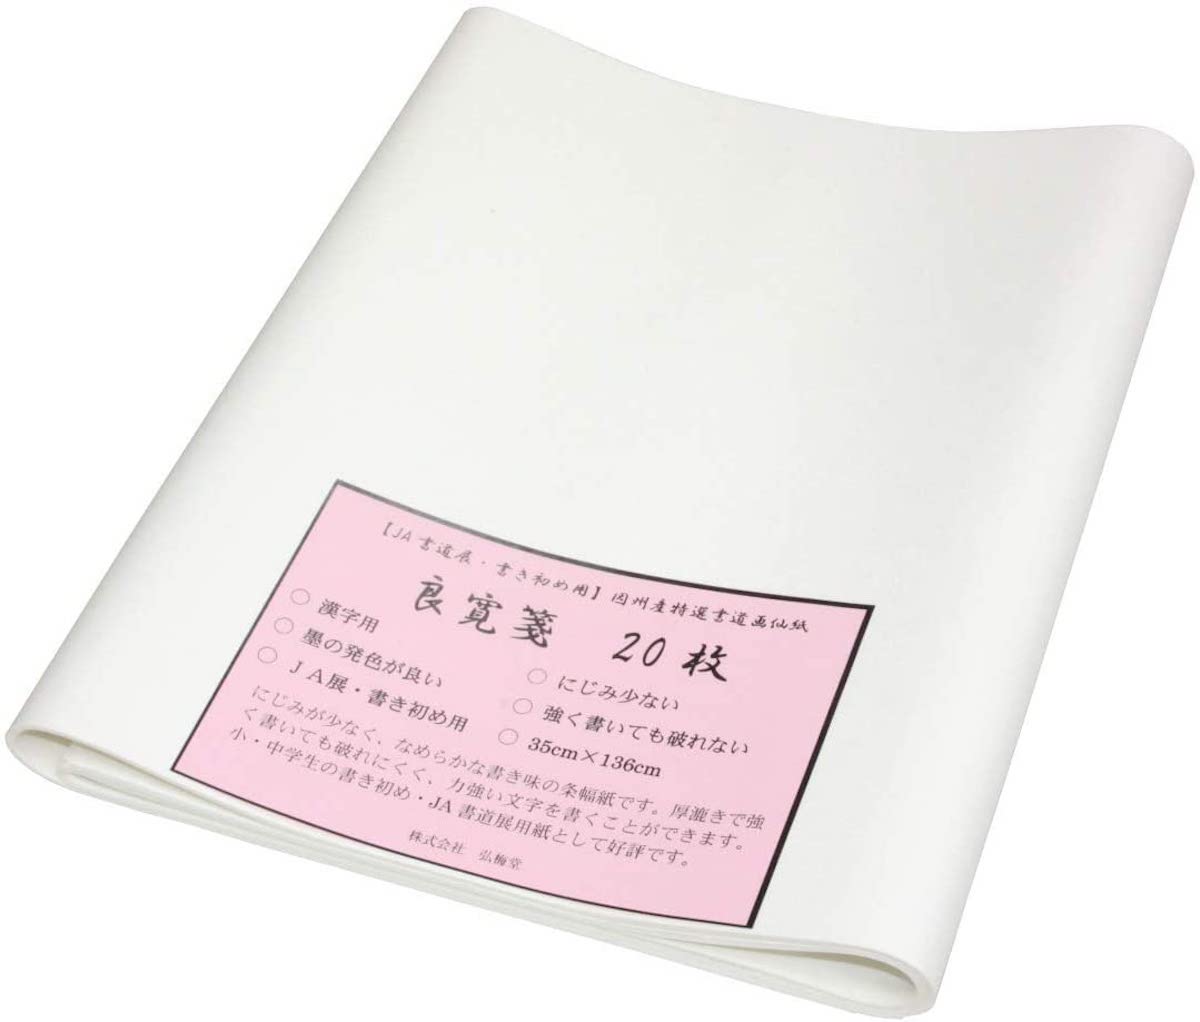
Washi paper is readily available in art stores, crafting stores, home centers, larger book stores and even in some supermarkets. You can find a variety of colors, sizes, and textures, although traditional calligraphy calls for long, relatively smooth sheets of white or off-white paper.
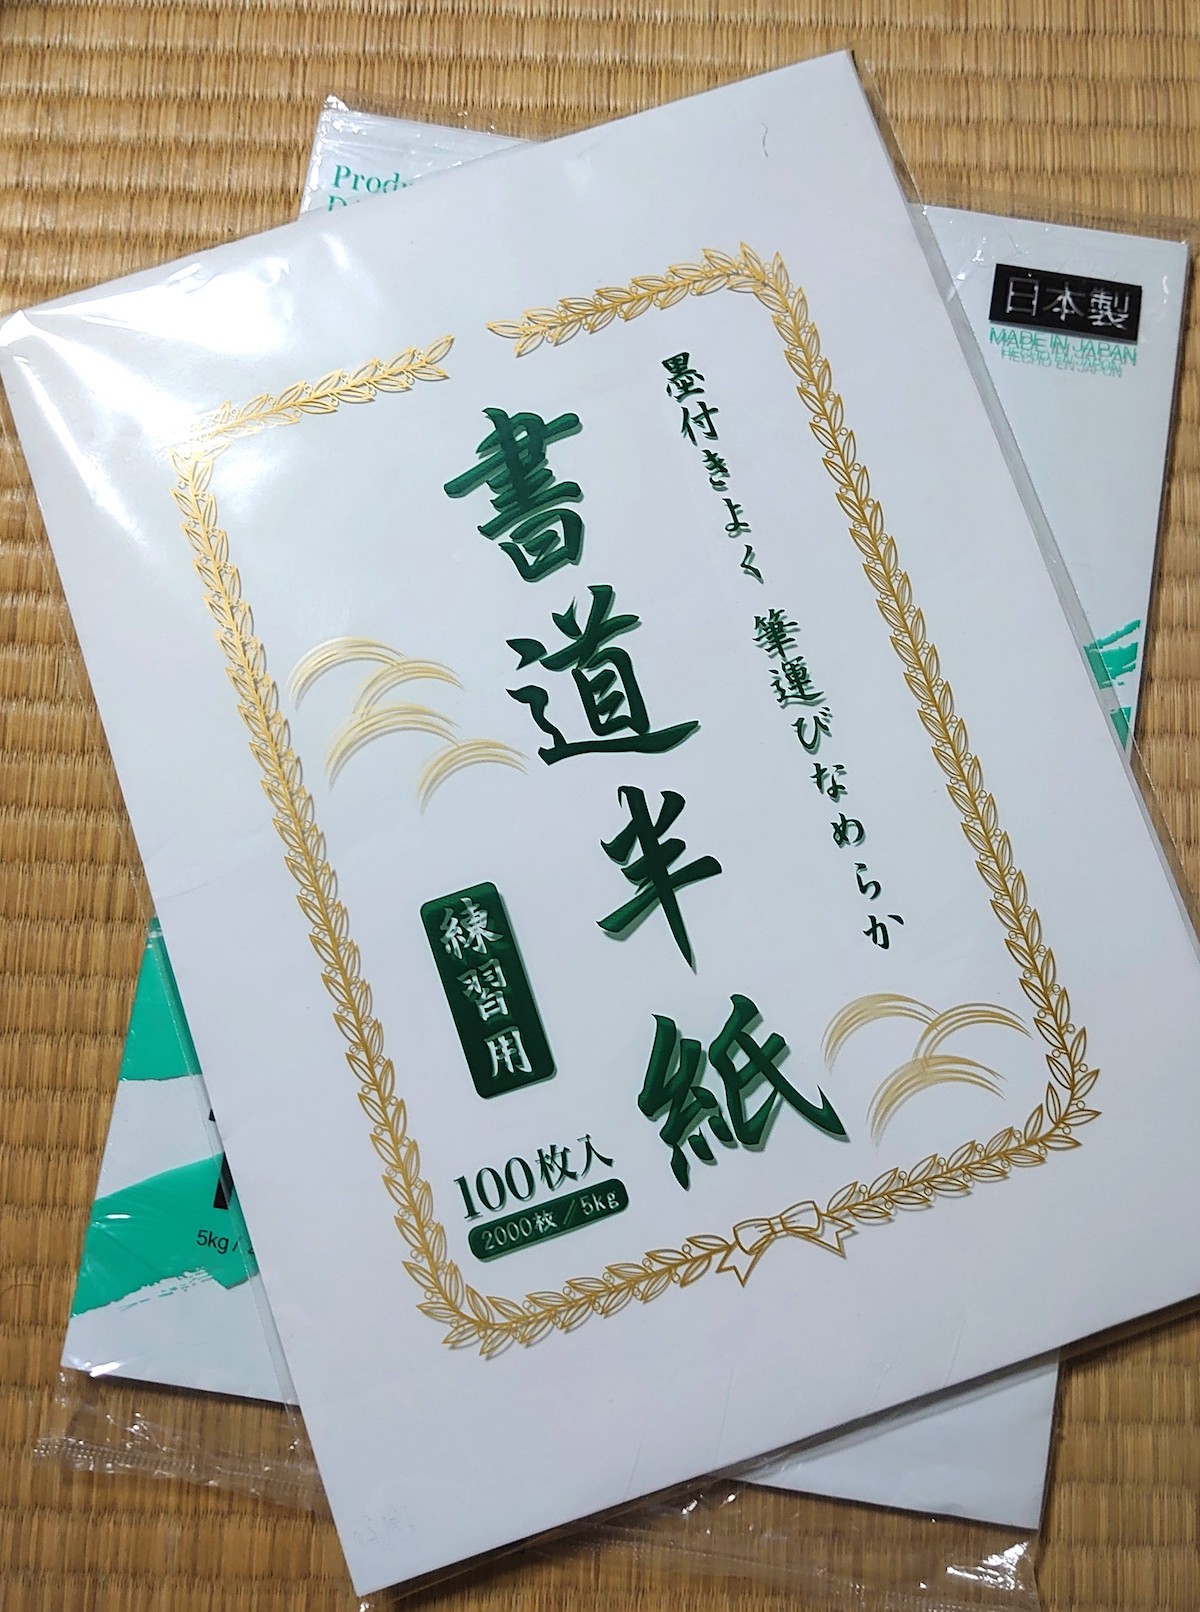
For practical purposes, beginners should stick with hanshi, or practice paper, as it’s much cheaper than washi. These starts from ¥100 a pack versus ¥1,400 plus for 20 sheets of washi.
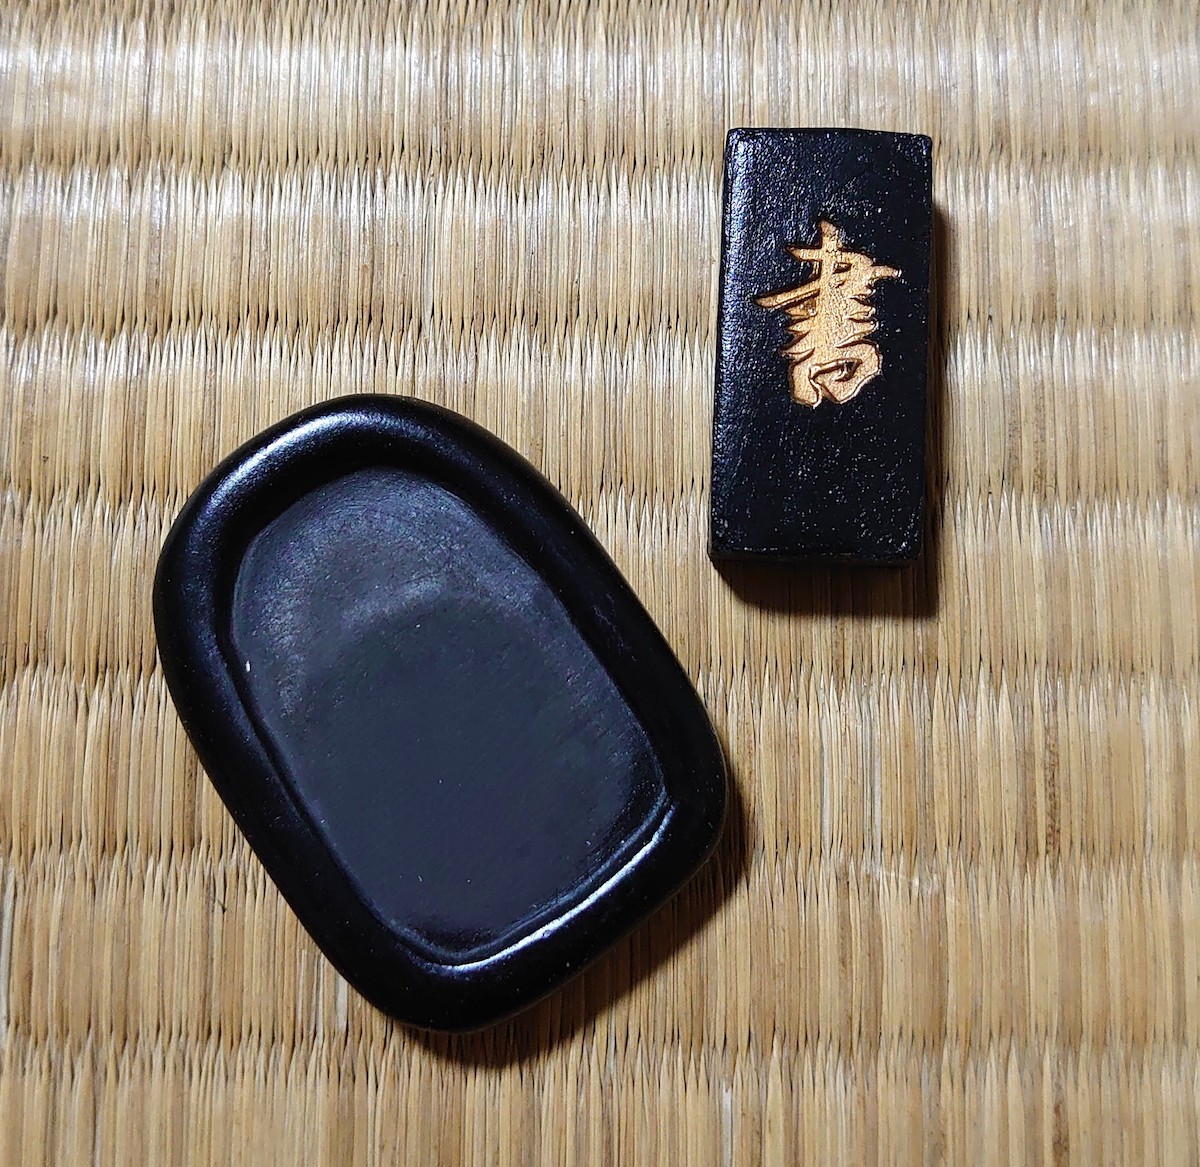
Inksticks are just like brushes. They can range in price and quality from ¥150 to well into the ¥70,000-plus range for antique or particularly rare types of ink. They’re made from a hardened mixture of vegetable or pine soot and shaped into a stick. The age, location of the ingredients and their overall quality are what determines the price. Mass produced ones are fine for beginners, but more advanced calligraphers prefer those made between 50-100 years ago for their color, mixing consistency, and ink texture.
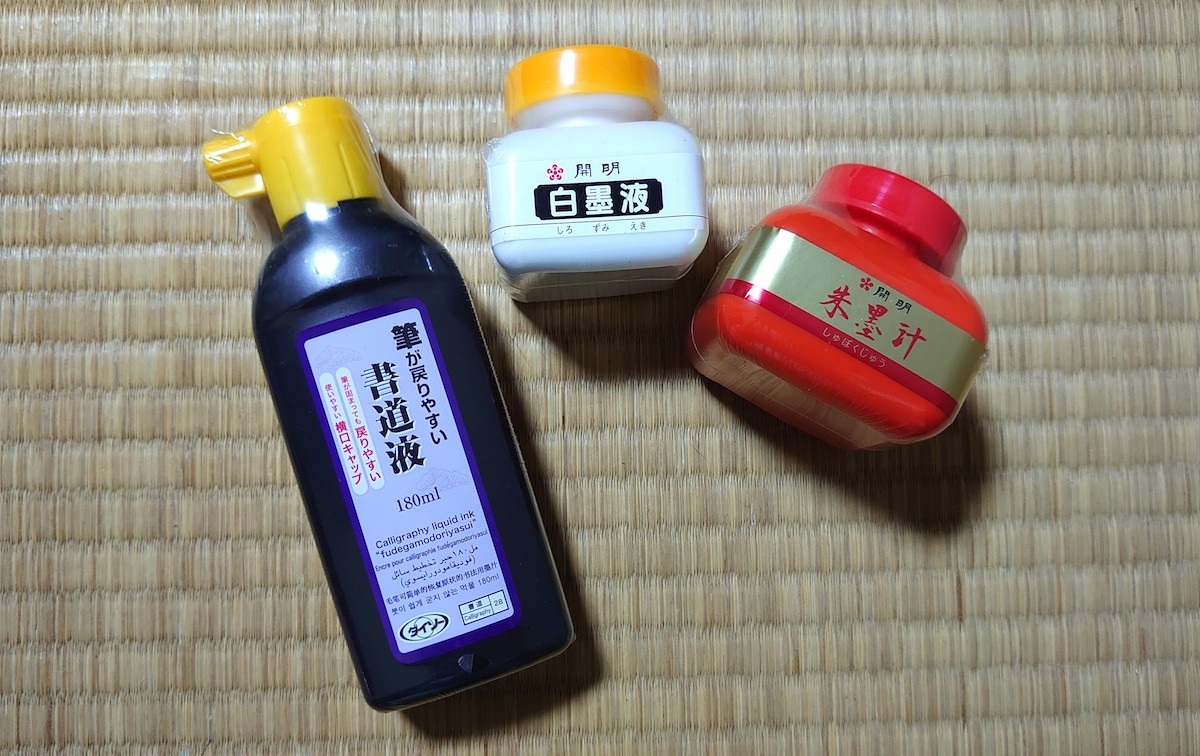
Another option for beginners is bokuju, or bottled ink. This liquid ink is readily available, comes in a variety of colors and is just as reliable as an inkstick when you’re starting out.
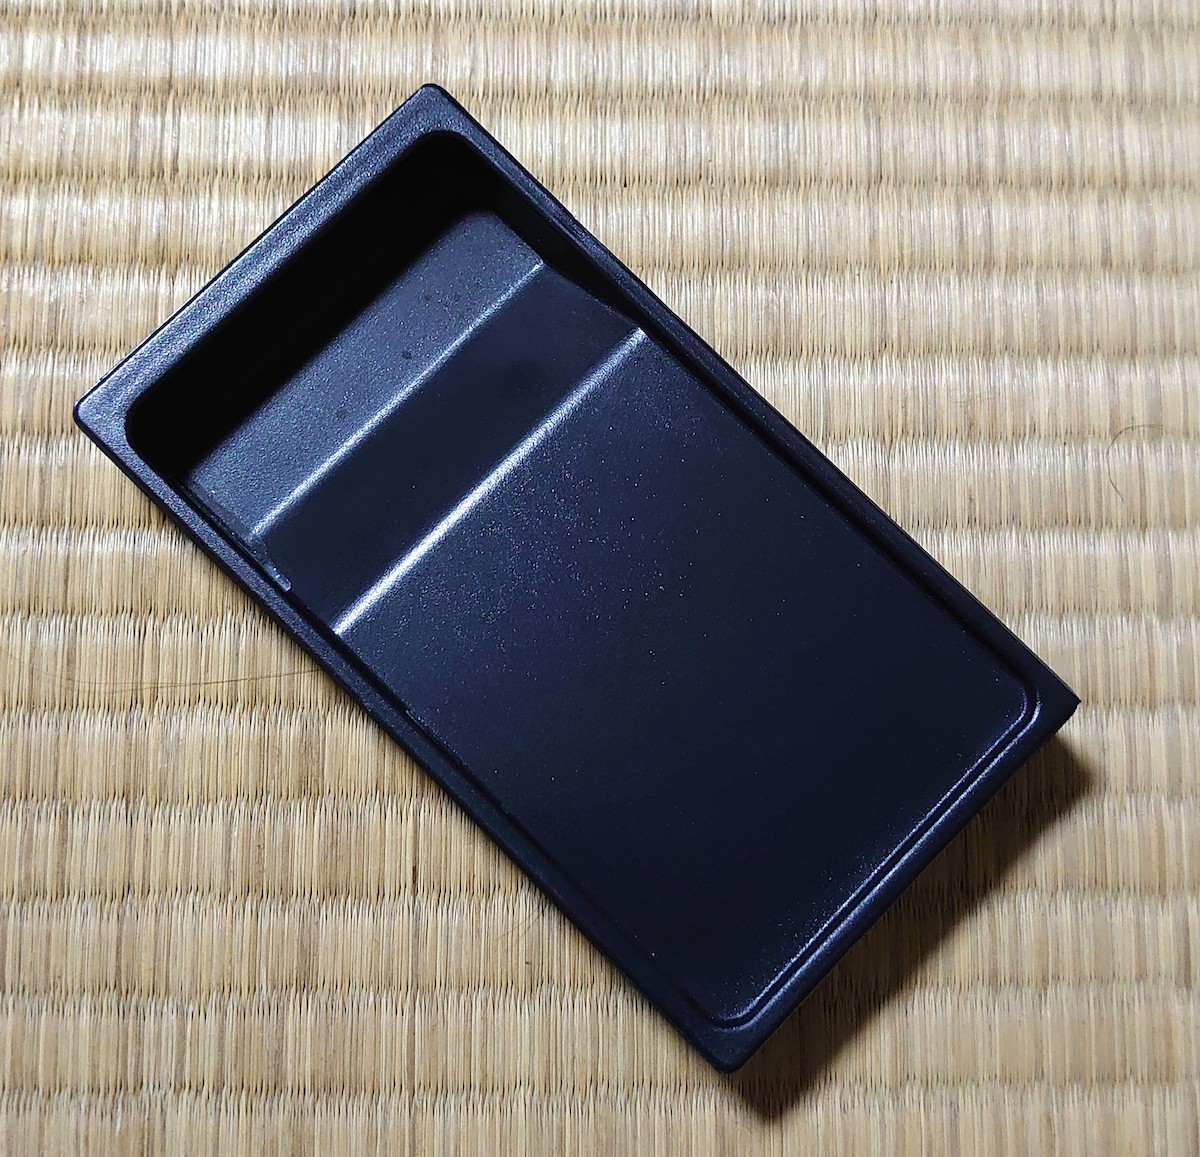
Plastic inkwells are often reversible, with one side for liquid ink, and the other with space to rub an inkstick.
If you use an inkstick, you will need an inkstone or inkwell too. You can easily find plastic or ceramic ones online or in stores, but traditional ones are made from stone and start at the ¥8,000 mark and go up into the millions of yen range. They are beautiful, handmade works of art in the majority of cases and collectors will tell you that without one, you will never see the true depth of beauty a particular inkstick can have.
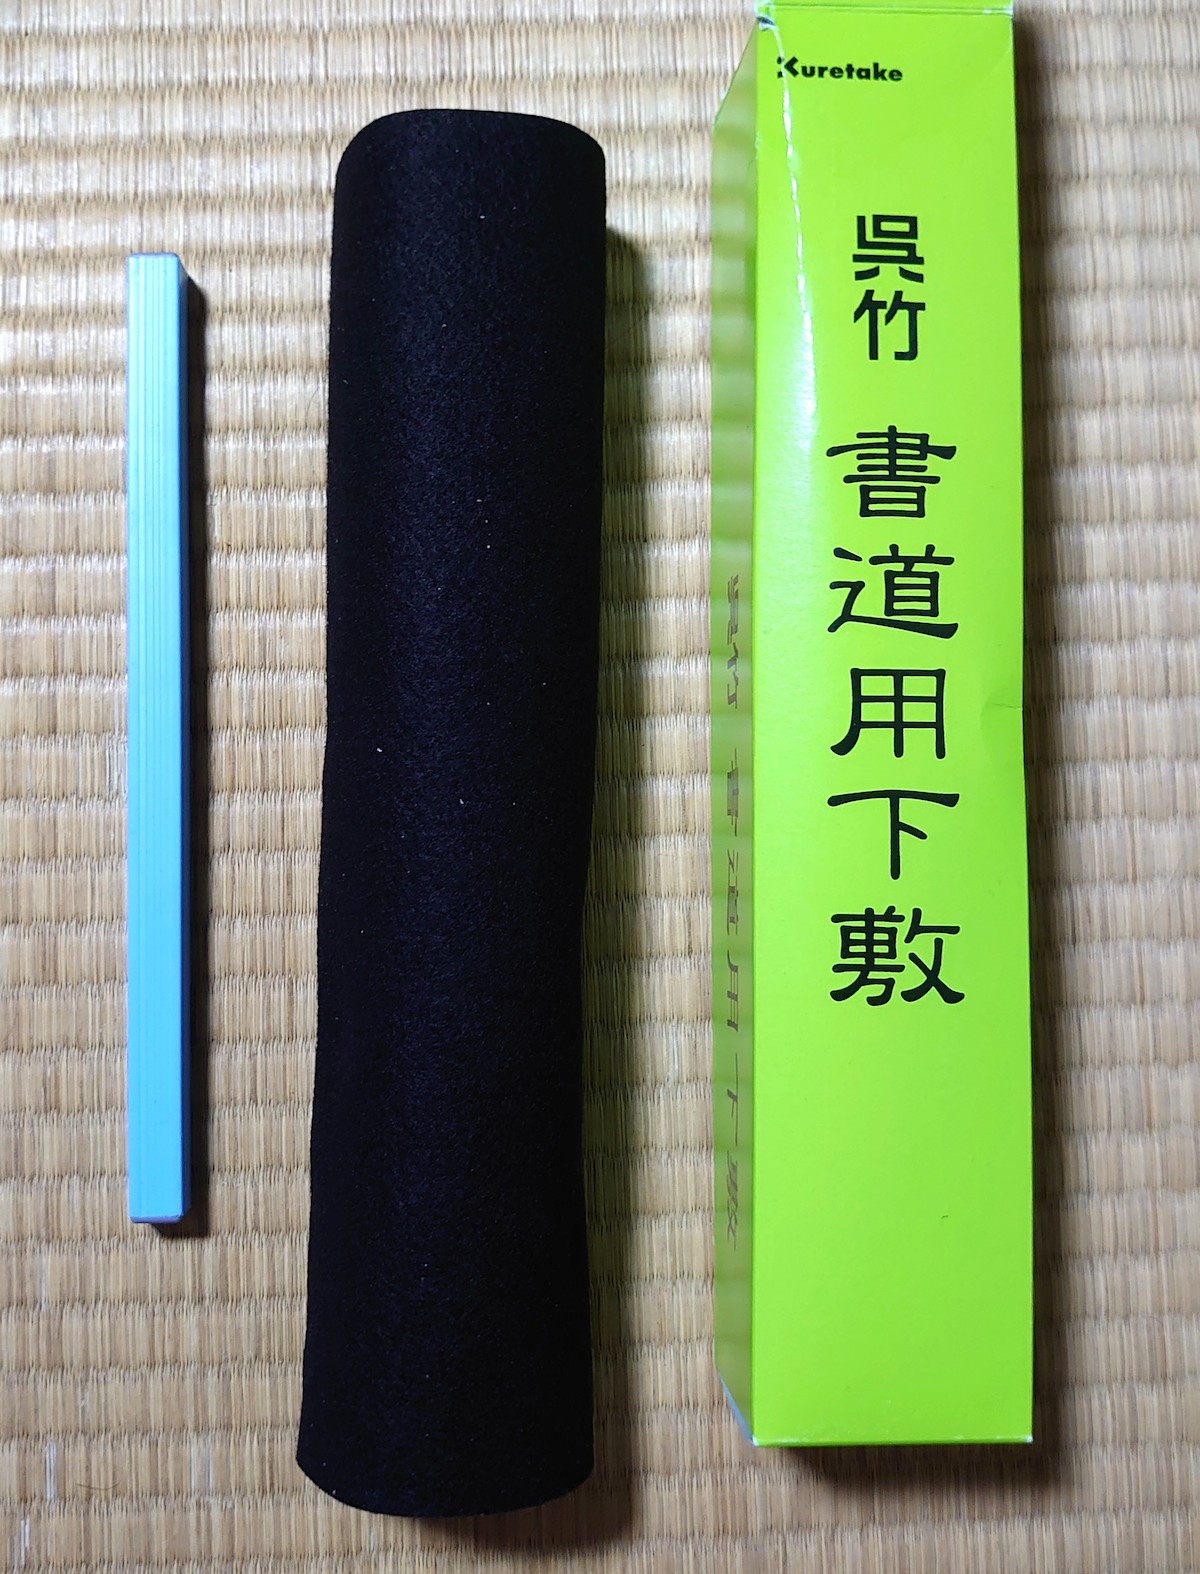
A bunchin (paperweight) to hold your paper in place, a shitajiki (undercloth ) to prevent the ink from bleeding through and a fudeoki (brush rest) to keep your brush from leaving ink stains on any surfaces are just as important. Don’t forget the mizusara (water dish), either — that’s where you keep the water used to wet the inkstone.
Getting your tools together
While those are all key pieces for any well practiced calligrapher, if you’re just getting started, you don7t have to spend more than ¥5,000 to be completely satisfied with your tools. The vast majority of the tools a beginner needs can be found at your nearest supermarket or even ¥100 store. There are three options available to beginners:
- The straightforward approach: A fudepen and any kind of paper, even a notebook will do.
- The school-style approach: A brush, a bottle of ink, hanshi practice paper, a small bowl or soy sauce dish and some newspaper or old flyers.
- The water writing approach: A kit that includes a pen to be filled with water and special paper to write on.
If you’re just getting started on your own, those are the only items you really need — and one of them is free if you save up your junk mail. You can substitute regular printer paper for practice paper if you like, but be aware that the ink will likely bleed through whatever paper you decide to use. This is why you’ll need those old newspapers and flyers. The small bowl or soy sauce dish is to pour the ink into — remember not to use it for food afterwards.
Please also note: if you open but don’t consistently use your bottle of ink, it will expire and will smell horrible when it does. If you can, try to buy the smallest bottle available when you first get started to save yourself from learning this the hard way.
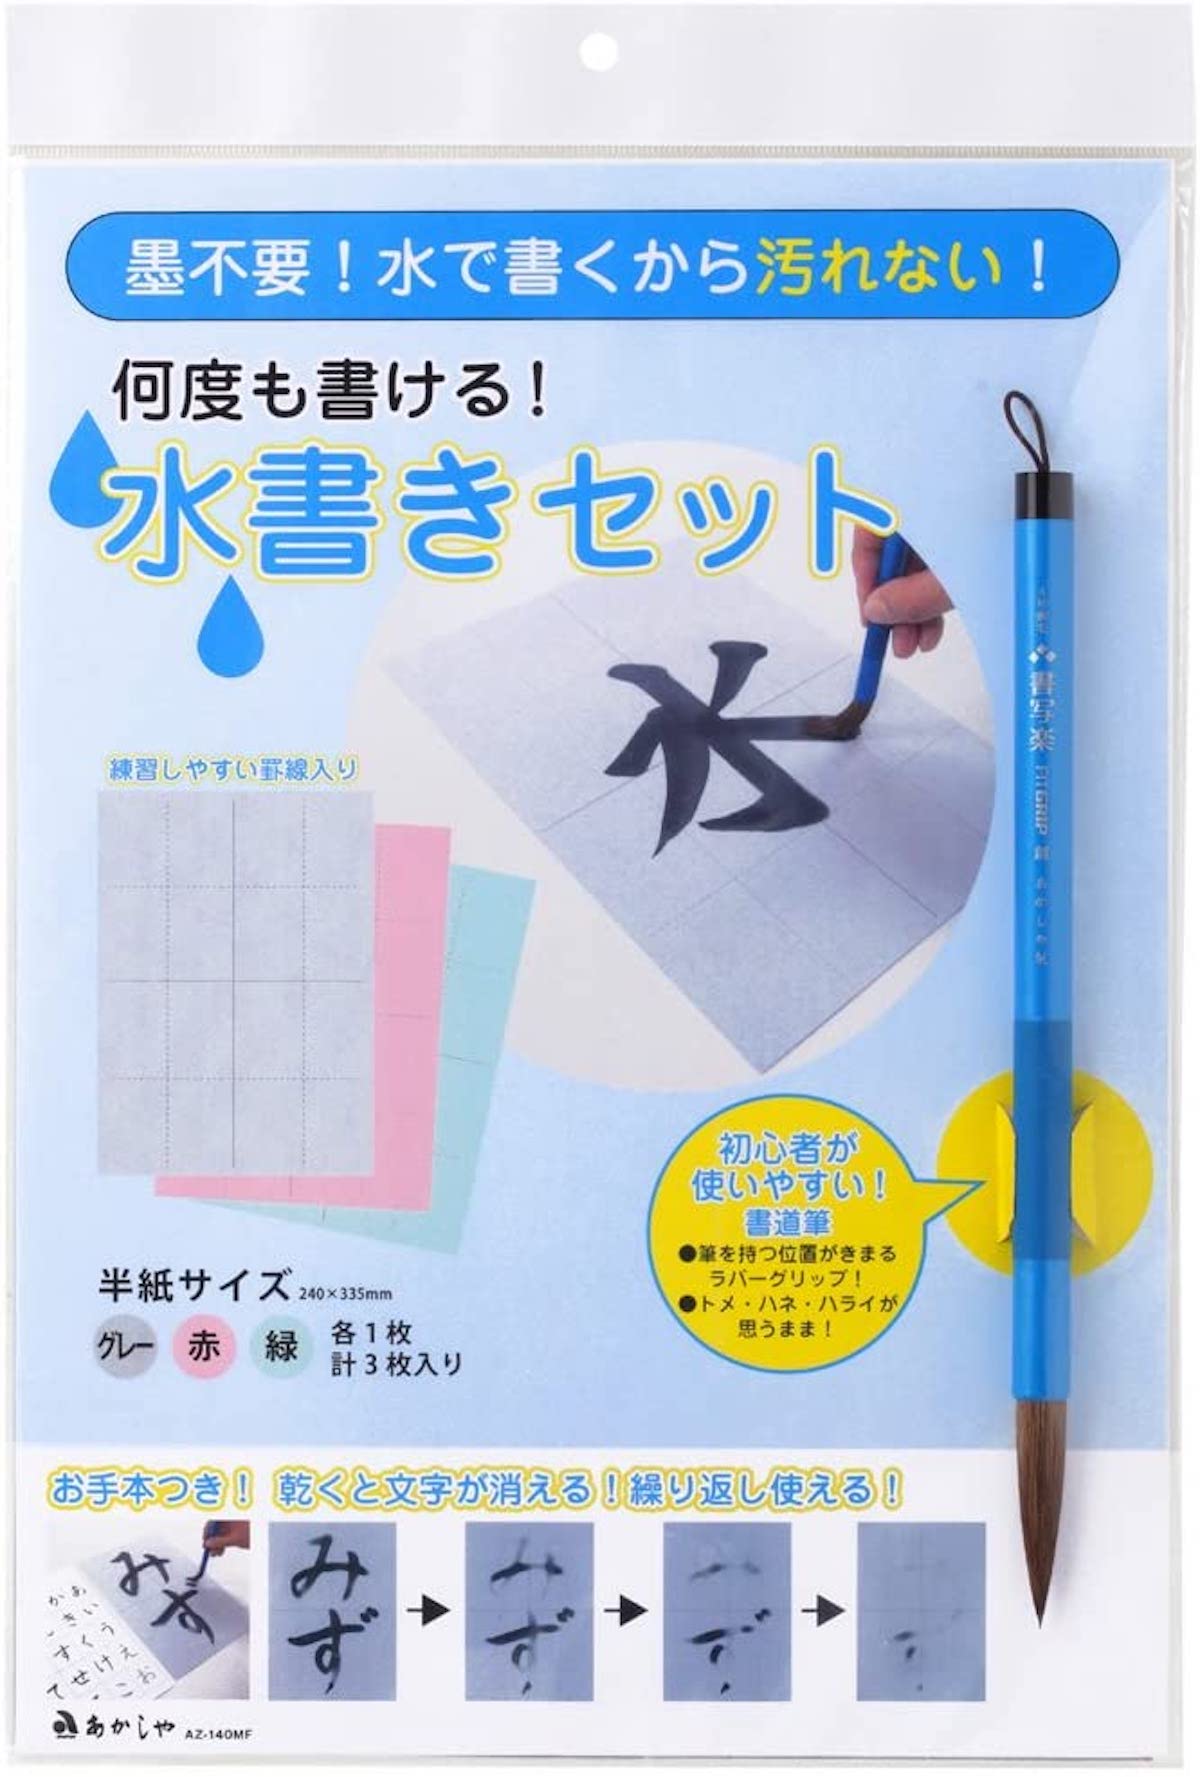
If you would rather skip the hassle of spilled ink, save on paper and aren’t fussed about keeping your first attempts to put on the fridge, the water writing approach is your best option. These kits come with everything you need (except the water). All you have to do is open them and brush your heart out over the pre-printed guidelines.
To buy your calligraphy supplies online, you should check out the water calligraphy kits on Amazon Japan (here and here), or from the art supply store Sekaido (Japanese only). If you really want to go all out and buy the best items possible, try Pigment Tokyo, and Kyukyodo.
How do I get started?
That depends on which approach you’ve chosen. If you’re using a water calligraphy kit, simply follow the instructions provided in the booklet and you’re good to go.
For a fudepen kit, follow the instructions on the pen’s packaging to get the ink flowing. Just remember not to squeeze it too hard or you will overload the brush with ink and your first attempts at writing will look more like Rorschach tests.
Liquid ink or an inkstick and stone kits will involve a little more prep work, first. Before you do any calligraphy whatsoever, you’ll need to soak your brush to remove the starch that was put in it to hold its shape. Soak the bristles in water to remove the starch, then let it dry thoroughly with paper towels. Put down a few layers of flyers. newsprint or a cloth, then set your paper over that (with a paperweight if you’ve chosen to use one). For liquid ink, pour it into a small container of some kind, or for an inkstone, pour a few drops of water into the inkstone, then carefully rub the inkstick against that spot until you have some ink.
Never let the inkstick sit in water, or rinse it — it well melt and you’ll have wasted your ink. Likewise wash your brushes immediately after use in lukewarm water, until the water runs clear, then dry them with a paper towel and stand them upright in a container. Some ink may have stained the bristles, but that only adds to their charm over time. If they came with a plastic cap, don’t try to force it back over the bristles, as this can damage them.
And then what? Well, you’ve got a lot of options. If you can already read Japanese or have studied it, then simply crack open a kanji textbook and follow the instructions for writing each character. Or if you have a favorite character, you can look it up on the KanjiVG website and it will provide the stroke order for you. There are also of course books available, too, such as this one for fudepens specifically or textbooks that teach all the basic steps in Japanese.
If you’d rather not use a book though, then both YouTube and Instagram are treasure troves of free beginner calligraphy courses. Three of the best channels on YouTube (in no particular order) are Japanese Calligrapher Takumi, 新宿書道教室 Japanese Calligraphy SHODO Lesson and Gohitsu Shodo Kai. They have playlists specifically for beginners, including tips on how to take care of your calligraphy tools.
On Instagram there are plenty of posts showing people’s calligraphy work, but if you’re trying to use it as a study guide, then Shioh.Shodo and Bunkai_Shodo are the best accounts to follow. Both also have their own websites as well.
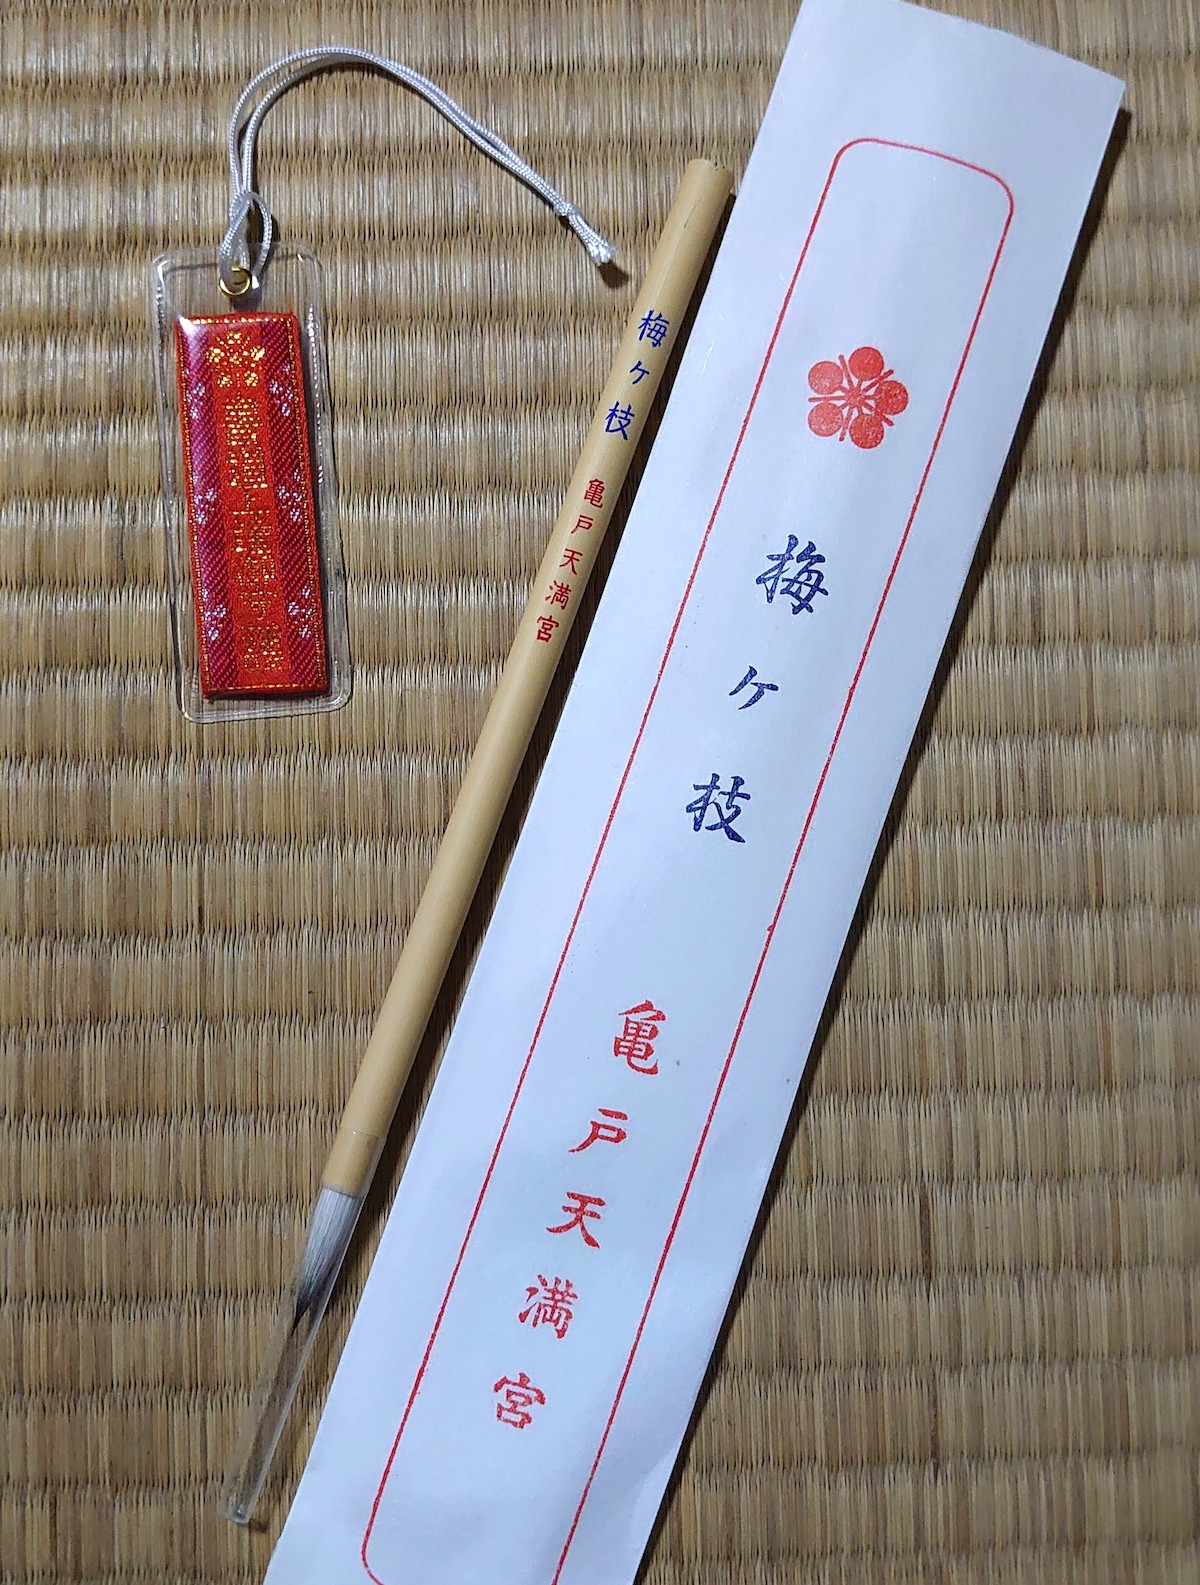
Now that you have the tools and the best online instructors available, all you need is some practice and a little luck. If you’re serious about making Japanese calligraphy a hobby and are slightly superstitious about it, then paying a visit to Kameido Tenjin Shrine in Tokyo’s Koto ward is a good idea. There, once you’ve prayed at the shrine itself, you can purchase omamori to help boost your calligraphy prowess, as well as specially stamped calligraphy brushes in small, medium and large sizes.
So, what kanji would you most like to master first?


Related Articles You Might Like
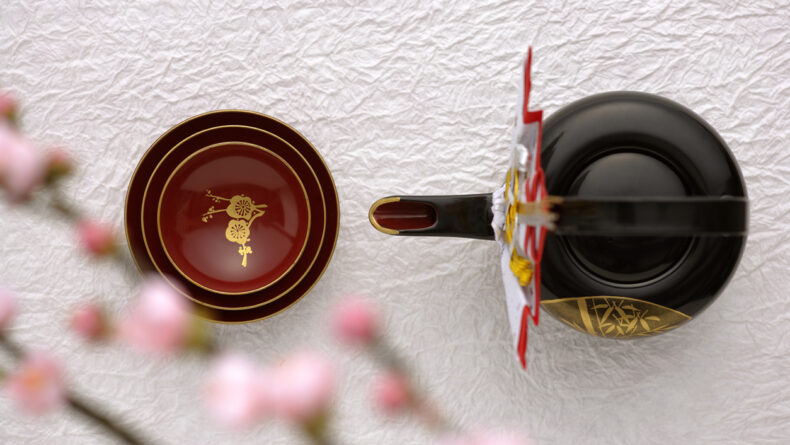
A Beginner’s Guide to Japanese Lacquerware
While ceramic dishes and metal cutlery are standard fare, there’s something very satisfying about having a bowl that will grow and change as you do.
By Hilary Keyes
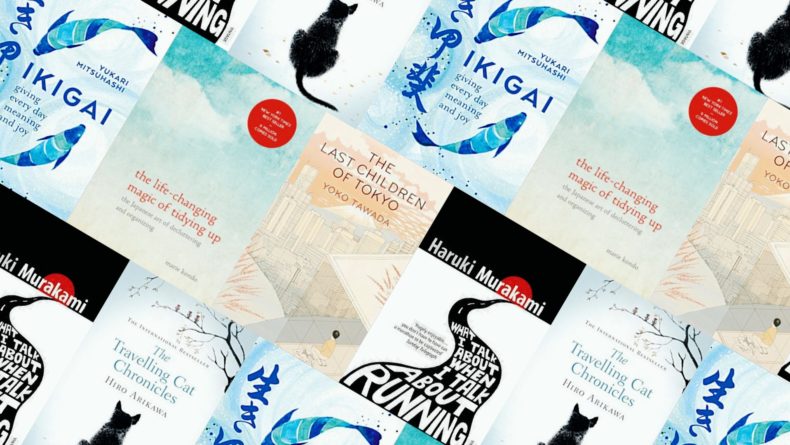
5 Japanese Books for 2021
A few inspirational titles to recharge your optimism batteries for all exciting things that are to come in 2021.
By Jessica Esa

Tatami Room: The Heart Of Japanese Contemporary Home
Originally a luxury that only the wealthy could afford, tatami space remains its exclusivity in the present time. But instead of the value in money,...
By Fairuz Emran
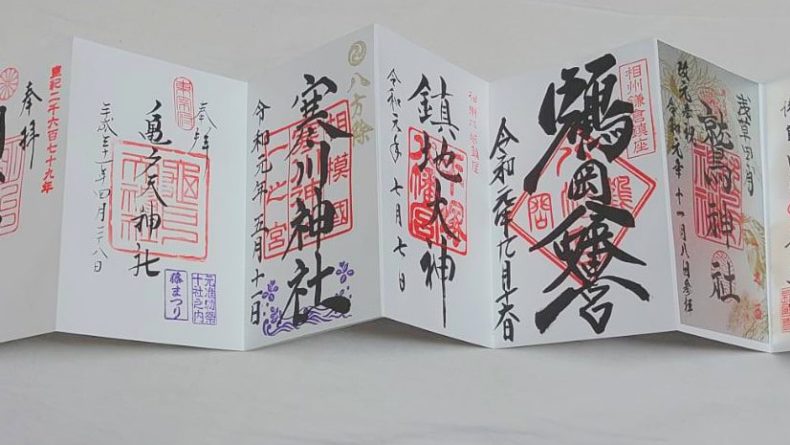
A Guide to Goshuin: Japanese Shrine and Temple Stamps
It’s 2020. What are you going to do differently this year?
By Hilary Keyes
Leave a Reply